- Home
- Products
- Company
- Case Study
- News
- Contact Us
Leave Your Message
You know, silicone overmolding is pretty fascinating. Basically, it’s a manufacturing trick where silicone is combined with a rigid part—like plastic, metal, or even tiny electronic components—to create a soft, protective outer layer. This layer isn’t just for looks; it helps with grip, seals out moisture, insulates, and even resists vibration. You’ll find it in all sorts of stuff—medical devices, wearable tech, automotive controls, industrial gear—you name it.
At the heart of it, silicone overmolding relies on carefully bonding the silicone to the substrate. First off, manufacturers check the part, clean it thoroughly, and often add grooves, tiny holes, or textured surfaces to help the silicone grip better. Then, the prepared piece goes into a mold. Liquid silicone gets poured around specific areas and is heat-cured into a flexible coating. But here’s the thing—things like temperature, pressure, mold design, and curing time all play a crucial role. Even tiny tweaks can lead to issues like excess flash, air pockets, weak edges, or uneven thickness. So, precision is key.
Now, on paper, it sounds pretty straightforward, right? But in reality, it’s not always that simple. Imagine a handheld sensor—people want a good grip, sealed buttons, and super tight tolerances. Sometimes those needs clash during production. Engineers have to test everything—silicone hardness, shrinkage, how well it sticks, and whether it can handle chemicals—before they give a thumbs-up. Plus, they need to consider real-world conditions: bending it repeatedly, exposure to cleaning products, sweat, heat, and even accidental drops. Making silicone overmolding reliable isn’t just about looking good in a sample; it’s about thorough testing, consistent tooling, and meticulous process control. Even expert teams often go through multiple iterations before nailing it. That’s when hidden risks come to light and can be fixed before mass production kicks off.
What Is Silicone Overmolding and How Does It Work?
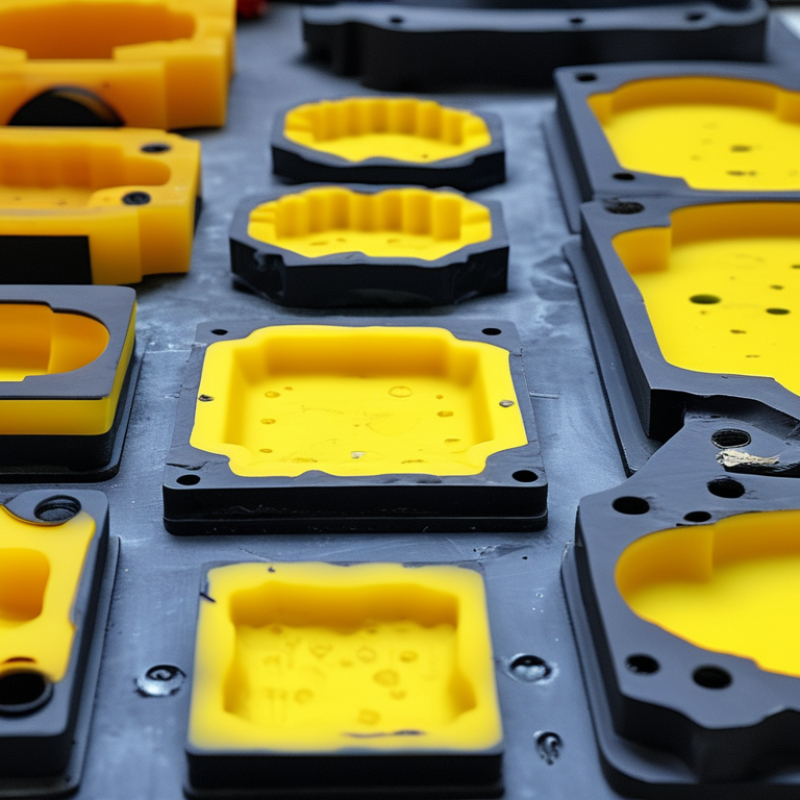
Silicone overmolding combines silicone with a rigid insert, such as plastic, metal, or glass. The process creates one integrated component. Manufacturers place the insert inside a mold, then inject or compress liquid silicone around it. Heat or chemical agents cure the silicone into a flexible outer layer. Silicone Insert Overmolding can improve grip, sealing, insulation, and user comfort.
This method is widely used for medical devices, electrical parts, automotive controls, and handheld equipment. Silicone resists moisture, temperature changes, and many common chemicals. It also remains soft after repeated handling. During production checks, engineers inspect bonding, surface texture, flash, and trapped air. Insert cleanliness matters greatly. Even small oil residue can weaken adhesion. The process is reliable, but not flawless. Mold design, curing time, and material choice can still create unexpected defects.
Tips: Match silicone hardness to the product’s use. Test the insert under heat, pressure, and repeated movement. Add suitable vents to reduce air pockets. Check critical dimensions after curing, because silicone may shrink slightly. A small trial run often reveals problems earlier than full production. Do not assume a strong bond without testing it. Manufacturing teams should record results from each batch and investigate unusual changes.
| Data Dimension | Typical Value or Option | Primary Function | Practical Explanation |
|---|---|---|---|
| Process Definition | Silicone molded directly over a preformed substrate | Creates an integrated silicone-and-substrate component | The silicone forms a soft, flexible, or protective outer layer around a rigid or flexible insert. |
| Common Silicone Type | Liquid silicone rubber (LSR) | Supports automated, repeatable molding | LSR is supplied as a two-part liquid system and is commonly mixed, metered, injected, and thermally cured in a mold. |
| Alternative Silicone Type | High-consistency rubber (HCR) | Used for compression or transfer molding | HCR is a solid, gum-like silicone compound that is shaped under heat and pressure before or during vulcanization. |
| Typical Substrates | Thermoplastics, metals, glass, ceramics, and electronic components | Provide structure, stiffness, electrical function, or dimensional stability | Substrate selection depends on temperature resistance, chemical compatibility, adhesion, and the intended end use. |
| Typical Silicone Hardness | Approximately 10 to 80 Shore A | Controls softness, grip, sealing force, and tactile feel | Lower hardness generally produces a softer and more flexible surface, while higher hardness provides greater support and wear resistance. |
| Typical Cure Temperature | Approximately 120 to 200°C for many molded silicone processes | Converts the silicone from a flowable material into an elastic solid | The actual temperature depends on the silicone formulation, mold design, part thickness, and required production cycle. |
| Typical Cure Time | Several seconds to several minutes | Determines production cycle length | Thin LSR parts may cure quickly, while thick sections and complex geometries generally require longer heating and cooling cycles. |
| Injection Material State | Two-component liquid system | Allows accurate metering and mixing | The two components are normally kept separate until they reach the mixing system, where they are combined before injection. |
| Key Process Step 1 | Substrate preparation | Improves bonding and positioning | The insert may be cleaned, dried, plasma-treated, mechanically textured, or coated with a suitable primer when required. |
| Key Process Step 2 | Insert placement | Positions the substrate accurately inside the mold | Fixtures, locating features, or automated loading systems help prevent movement, flash, and uneven silicone coverage. |
| Key Process Step 3 | Silicone injection or compression | Fills the cavity around the substrate | Material flow must be controlled to reduce trapped air, incomplete filling, weld lines, and excessive flash. |
| Key Process Step 4 | Heat curing | Cross-links the silicone elastomer | Heat activates the curing system and gives the molded silicone its final elastic and mechanical properties. |
| Key Process Step 5 | Demolding and inspection | Confirms part quality and dimensional conformity | Inspection may include visual checks, dimensional measurement, adhesion testing, hardness testing, and leak testing where applicable. |
| Bonding Method | Chemical adhesion, mechanical interlock, or a combination of both | Prevents separation between silicone and substrate | Bond strength is influenced by surface preparation, material compatibility, mold temperature, cure conditions, and insert geometry. |
| Need for Primer | Application-specific | Improves adhesion to difficult substrates | Some material combinations bond without primer, while others require a compatible primer or surface treatment for reliable adhesion. |
| Temperature Resistance | Often approximately −50 to 200°C, depending on formulation | Enables use across broad temperature conditions | Actual continuous-use limits vary by silicone grade, exposure time, mechanical load, and contact with chemicals or other materials. |
| Environmental Resistance | Good resistance to weathering, ozone, moisture, and ultraviolet exposure | Supports outdoor and demanding service environments | Silicone generally retains flexibility better than many organic elastomers when exposed to sunlight, ozone, and temperature changes. |
| Electrical Performance | Good electrical insulation when an insulating silicone grade is selected | Protects conductors and provides dielectric isolation | Electrical performance depends on formulation, contamination, wall thickness, voltage, temperature, and moisture conditions. |
| Sealing Capability | Flexible compression seal or gasket layer | Blocks water, dust, air, or other contaminants | Sealing performance depends on compression, surface finish, part geometry, material hardness, and the stability of the substrate. |
| Grip and Ergonomics | Soft-touch, non-slip, or cushioning surface | Improves handling comfort and impact absorption | Silicone overmolding can add a comfortable tactile surface to handles, controls, grips, and user-contact areas. |
| Design Benefits | Part consolidation, integrated sealing, improved protection, and reduced assembly steps | Can simplify product construction | Multiple separate components may be combined into one molded part, reducing fasteners, secondary operations, and potential leak paths. |
| Common Applications | Seals, medical components, wearable interfaces, cable protection, grips, keypads, and sensor covers | Combines flexibility with protection or user comfort | The process is suitable where a soft, chemically stable, temperature-resistant, or electrically insulating layer is needed. |
| Main Limitations | Adhesion challenges, tooling cost, insert tolerances, flash, and material incompatibility | Defines design and manufacturing constraints | Successful production requires careful control of substrate selection, mold design, venting, surface preparation, and curing conditions. |
| Quality-Control Tests | Visual inspection, hardness, dimensions, adhesion, compression, and leak testing | Verifies functional and cosmetic requirements | The test plan should reflect the final application, including environmental exposure, mechanical loading, and sealing requirements. |
| Best Use Case | Products requiring a durable, flexible, protective, or soft-touch silicone layer | Provides performance that rigid plastics alone may not offer | Silicone overmolding is most valuable when the silicone layer must remain permanently integrated with the underlying component. |
Note: Values shown are general industry ranges and should be validated against the selected silicone formulation, substrate, mold design, part geometry, and operating environment.
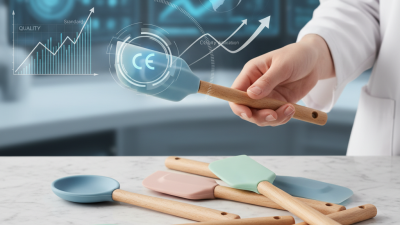
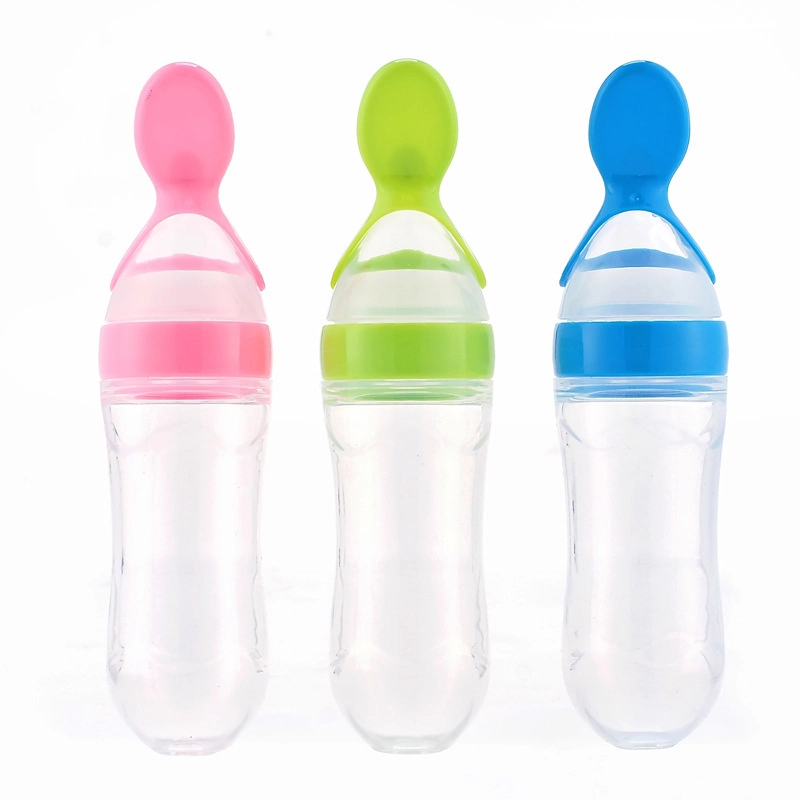
Custom silicone squeeze spoon feeders reflect the growing demand for practical, hygienic, and adaptable baby feeding products. As highlighted by the baby feeding products market, parents increasingly value solutions that combine convenience with safe materials and easy cleaning. A silicone rice paste feeder brings these benefits together by combining the function of a soft bottle and a spoon in one compact design.
Designed for babies from around four months to six years, the feeder allows caregivers to fill the soft container with rice paste, purée, or other suitable foods, then gently squeeze the body to deliver a controlled amount onto the spoon. This design can help reduce mess during mealtimes while supporting a more comfortable transition from bottle feeding to spoon feeding. Made with high-quality, BPA-free silicone, it is soft, durable, and suitable for regular family use when cleaned and handled properly.
For distributors and retailers, customization adds further value. The feeder can be produced in a range of colors and personalized with a company logo, making it suitable for private-label programs, promotional campaigns, and coordinated product collections. Reliable manufacturing from China, combined with practical design and flexible customization, makes this squeeze spoon feeder an appealing option for businesses seeking modern baby feeding products.
: Silicone overmolding bonds a flexible silicone layer around a rigid insert. The insert may be plastic, metal, or glass. Heat activates the curing process.
Common choices include polycarbonate, nylon, stainless steel, aluminum, and glass. Each material affects adhesion, shrinkage, and heat transfer differently. Material selection matters.
Remove oil, dust, moisture, and loose particles from every contact surface. Technicians may use abrasion, plasma treatment, or a suitable primer. Clean handling is essential.
Primer can improve bonding when the surface is compatible and properly prepared. It cannot repair contamination, trapped moisture, or a poor physical fit. It is not magic.
A fixture keeps the insert stable while silicone flows around it. The fixture must not block gates, vents, or narrow silicone paths. A secure fixture may still leave witness marks.
Precise cavities, vents, gates, and locating features help control silicone flow. Small vents release trapped air from tight areas. Tiny details matter.
Inspect the silicone-to-insert interface, not only the visible outer surface. Test water pressure, temperature changes, chemical exposure, and repeated flexing. A thin sealing lip may fail after compression cycles.
No. A successful first sample proves only that one trial worked. Mold temperature, cure time, insert moisture, and pressure can change later results. Record measurements honestly, then review failures.
Silicone Overmolding is a manufacturing process that forms a durable silicone layer around a base component, such as metal, plastic, glass, or an electronic part. It is used to improve grip, comfort, sealing, insulation, protection, and resistance to heat, moisture, chemicals, and repeated handling. The process typically combines a prepared substrate with liquid or uncured silicone, along with suitable molds, injection equipment, and curing systems. Before molding, the base component must be cleaned, inspected, positioned, and sometimes treated with a primer or surface texture to promote reliable bonding.
During production, silicone is injected, dispensed, or compressed around the component so it fills the intended cavities without damaging delicate features. Heat or another controlled curing method then transforms the soft silicone into a stable, flexible, and permanent layer. This technique supports efficient production and can improve product ergonomics and durability, although it may require careful material compatibility, mold design, and process control. Common applications include protective covers, seals, handles, wearable components, medical equipment parts, and insulated electronic assemblies.